Skip the Gym / 5 Easy and Best Yoga Asanas for Lower Body Strength
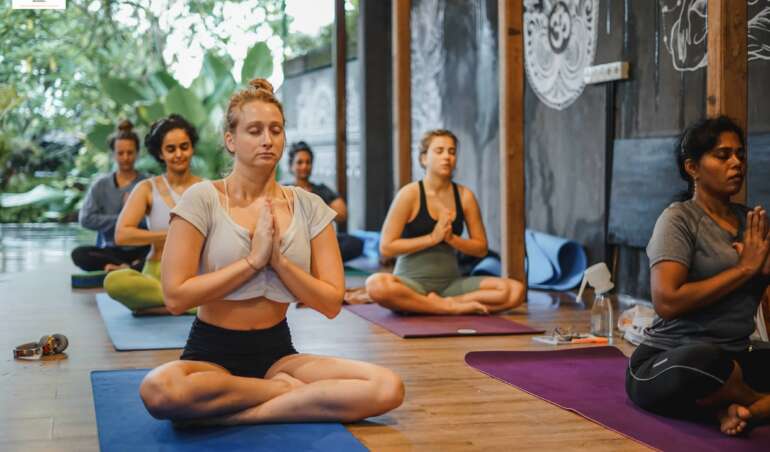
Yoga asanas are well-known for its effects on making you flexible, but they also make your whole body strong when it’s done properly. To perform asanas effectively, strength is important as well as flexibility. You don’t need to life heave weights in the gym and suffer to get a strong core, toned arms and sculpted legs. Here are the yoga asanas you can practice at home, and these are the best and easy yoga poses anyone can start practicing right now. Make sure you warm up your body by rotating the joints, stretching the whole body, walk on the same spot you are at for a few minutes and so on and let’s get stared.
")
1- Virkshasana (Tree Pose)
Main Targets – Ankles, feet, knees, and balance.
Stand on the mat. Place and grip the yoga mat with your right foot firmly to have a strong base to support the whole body. Slowly, place your left foot on your right inner thigh as high as possible while keeping a balance. Make sure the left sole is pressing into the right inner thigh. Open the left knee to the left side. Imagine you have 2 walls sandwiching you in front and the back. Find your stability and join your palms in front of the chest. To make it more challenging, straighten your arms and bring your palms up above the head. Gaze at one point in front of you wherever you feel balanced and comfortable. Stay there as long as you feel comfortable with steady breathings. Come back to the standing position slowly and repeat the other side.
")
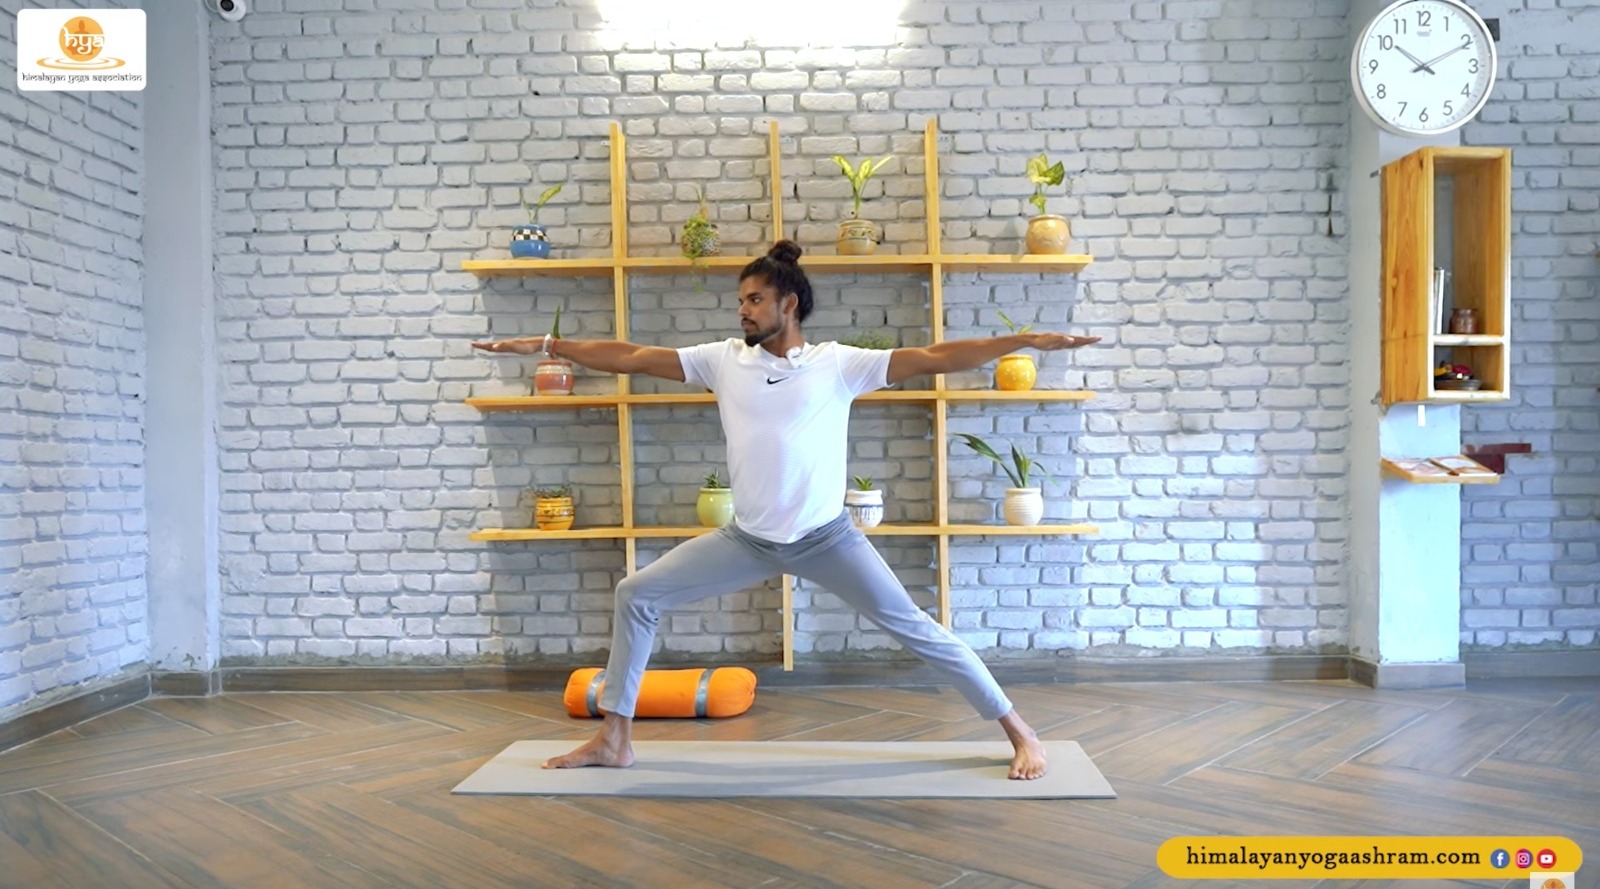
2- Virabhadrasana A (Warrior Pose 1)
Main Targets – Glutes, the entire leg regions.
Stand on top of the mat. Place your right foot firmly on the mat and bring the left foot widely back. The both heels should be in one line with the left toes pointing at the 45 degrees angle just in between the front and the left side and the outer edge of your left foot is firmly grounding. Bend your right knee by making sure the right knee is just above the right ankle by adjusting the position of the right foot. Aim to bend the right knee until 90 degrees angle (the right hamstring parallel to the floor) if possible. Make your hips square and tilt posteriorly to bring your hip bones vertical to the floor. Then, bring your arms up and high towards the sky while keeping the lower body strong without moving it. Your fingers wide apart and palms are facing each other, or you can join the palms if you feel comfortable. Look at one spot in front of you or if your neck feels comfortable, look up to the tip of the fingers. Stay there as long as you feel comfortable with steady breathings. Come back to the standing position slowly and repeat the other side.
3- Virabhadrasana B (Warrior Pose 2)
Main Targets – Glutes, the entire leg regions.
Stand on the mat with your feet widely apart, the feet are parallel to each other. Turn your right foot 90 degrees outwardly and bring your right knee just above the right ankle. Aim to bend the right knee until 90 degrees angle (the right hamstring parallel to the floor) if possible. Make sure the knee does not fall weakly inwardly. Bring the right foot closer to your body if the knee is falling inwardly, it will make the asana easier. The outer edge of the left foot is firmly grounded, and the thigh is opening outwardly. Make your hips square and tilt posteriorly to bring your hip bones vertical to the floor. Imagine you are in between walls in front and the back. Make your torso vertical to the floor and bring your arms parallel to the floor. Spread your fingers and focus on one point towards the direction of the right hand or the middle finger. Stay there as long as you feel comfortable with steady breathings. Come back to the standing position slowly and repeat the other side.
")
4- Virabhadrasana C (Warrior Pose 3)
Main Targets – Main Targets – Glutes, the entire leg regions, the back.
Stand and firmly ground the right foot to the mat. Find the balance and join the palms in front of the chest. As you bring your upper body forward and lower, bring the left leg up while keeping the knee tight and the leg straight. Bend the right knee slightly if you have an hyperextension in the knee. Keep leaning the upper body forward until it becomes parallel to the floor and keep the left leg parallel to the floor as well. Make both sides of the heights of the hips same above the floor, do not open the left hip upwardly. If you feel comfortable, straighten your arms forward and bring your arms next to your ears, palms parallel to each other or join the palms away from the head. Aim to make your body in line from the tip of the middle fingers to the left heel. Left toes pointing towards the floor. Look at one point on the floor or at the tip of your middle fingers. Stay there as long as you feel comfortable with steady breathings. Come back to the standing position slowly and repeat the other side.
")
5- Utkata Konasana (Goddess Pose)
Main Targets – Both inner and the outer thighs, pelvic floor, knees, ankles.
Open your legs apart with the toes pointing as much as outside and bend your knees until the knees come right above the ankles. Try to make your thighs parallel to the floor by widening the width of the legs. Make sure the knees don’t fall inwardly but just above the ankles. Firmly ground the feet on the mat and keep your hips low. Bring the palms in front of the chest and join the palms, or bring your arms up above the head high with the palms facing each other. Stay there as long as you feel comfortable with steady breathings. Come back to the standing position slowly.
Give it a try to practice those 5 asanas everyday for one week. These simple asanas will make your lower body strong and toned, and not only that, asanas give you a mental stability, strength, and clarity. Practice each asana by paying attention to every part of your body and that’s the way to get the maximum benefits from the yoga asana practices.